Solution topic
Custom sealing fixture design: contact surfaces, pressing method, and changeover validation
Starting from rim contact surfaces, membrane materials, cap liners, and container support, this guide explains the validation process and changeover boundaries for custom heat seal
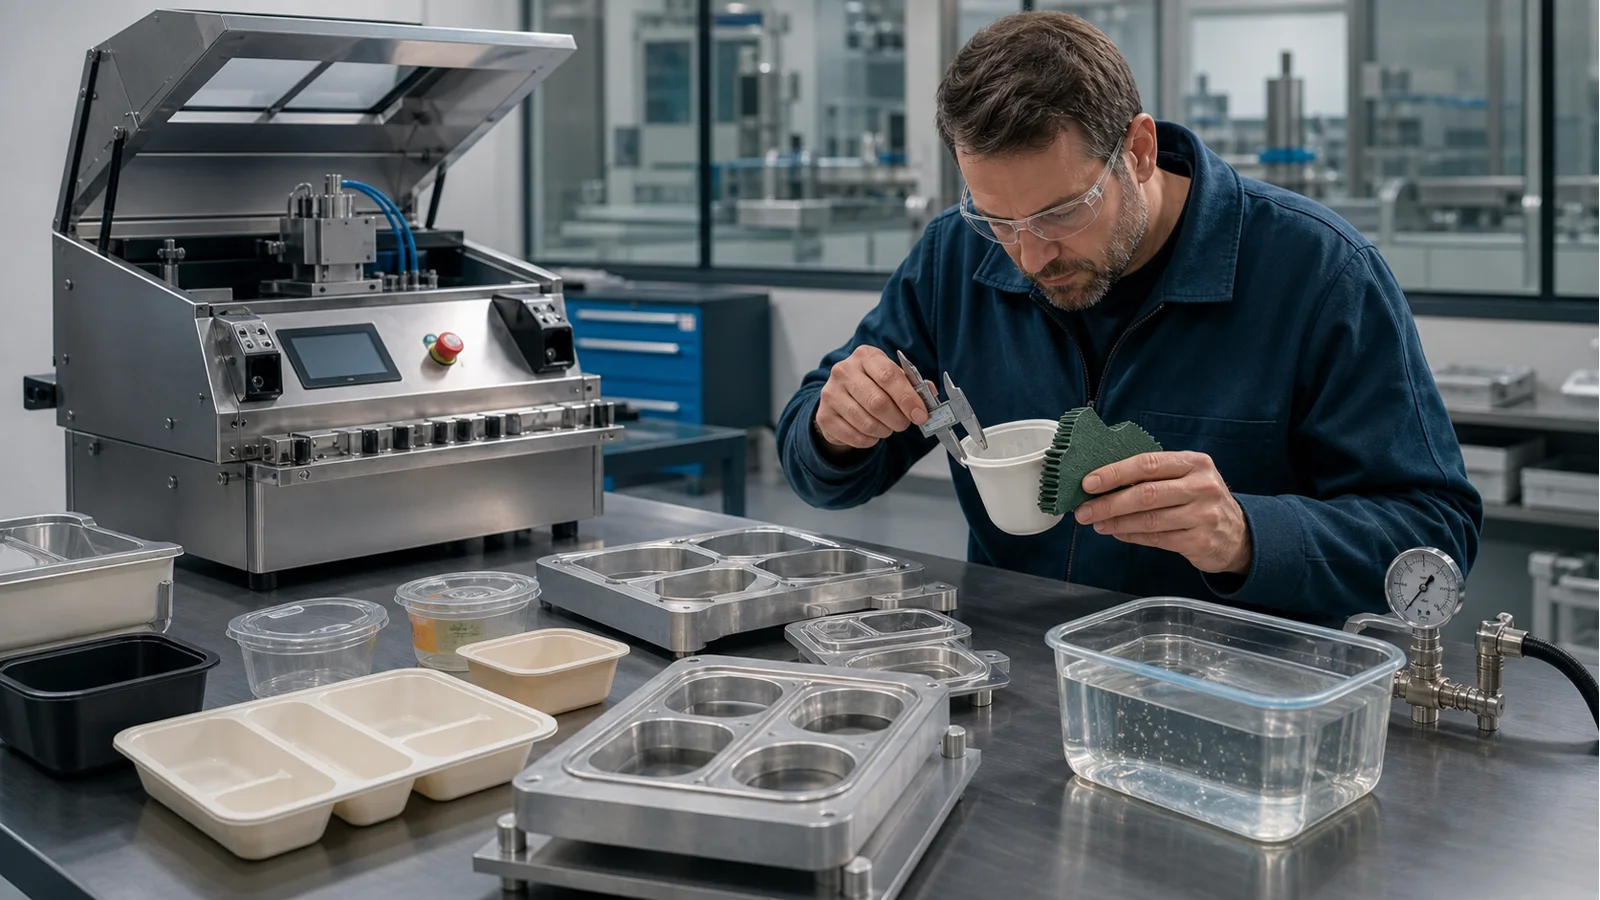
- For irregular cups, boxes, bottles, pails, or paper-plastic cans, evaluate heat sealing, induction sealing, and bottle/can/jar/pail sealing principles separately. Fixtures can only handle positioning and support; they cannot compensate for mismatched rims or membranes. The approach should progress from sample testing to semi-automatic production.
Solution summary prepared for you
- For non-standard sealing fixtures, first mark rim contact bands, stable support surfaces, and non-clampable areas, then establish heat-seal samples with container and film physical samples.
- Irregular cups and boxes can be verified with a small-diameter cup sealing machine or bench multi-compartment tray sealing machine; bottles, pails, and cans are tested for axial support on corresponding heat-sealing equipment.
- Induction for gaskets under caps requires the cap to bring the gasket close to the rim. Positioning changeover parts cannot compensate for incompatible gaskets or container materials.
Route comparison
- Suitable for irregular cup and tray sample testing, multi-specification semi-automatic sealing, and fixture contact surface verification.
- Bench equipment facilitates step-by-step observation of rim, film, and support forces, suitable for establishing basic completed samples for cup and tray fixtures.
- Manual positioning results do not directly represent multi-station incoming material; rim warpage and film layer compatibility are still determined by sample testing.
- When containers cannot be repeatedly positioned in the fixture, or there are unresolved interruptions in the contact band, first adjust container film or support references.
- For small containers use small-diameter cup sealing machine SGP-03; for multi-compartment or irregular trays use bench multi-compartment tray sealing machine, and design support based on physical samples.
- Suitable for bare mouths and direct film structures of bottles, pails, and cans, requiring verification of axial pressing and support.
- Bottle, pail, and can equipment can configure support around the container axis and mouth, facilitating comparison of direct film heat sealing and corresponding cap actions.
- Tall container center of gravity, rim material, direct film, and outer cap structure must be verified as a set; cup and tray fixtures cannot be shared directly.
- When packaging uses aluminum foil gaskets under caps and requires induction after capping, direct heat-sealing equipment does not correspond to this process.
- Choose bottle, pail, and can sealing machine, inline bottle heat-sealing machine, or paper can/plastic pail aluminum foil sealing and capping machine according to mouth structure.
- Suitable for capped bottles and jars with clear inner gasket structure, stable positioning, and small-batch induction verification.
- Bench induction allows making samples with different cap-gasket-can combinations; positioning changeover parts allow containers to pass through the induction area in a fixed posture.
- Induction equipment does not perform capping. Gasket, cap tightness, container material, and mouth size still need item-by-item trials.
- When containers have no aluminum foil gasket under the cap, or the cap cannot bring the gasket close to the rim, do not enter the induction route.
- Use bench air-cooled induction aluminum foil sealing machine, with food-grade seal rings, cleaning consumables, and changeover parts.
Associated Equipment / Consumables
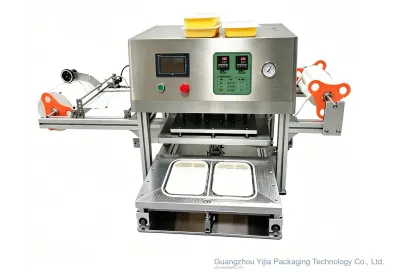 Tabletop Multi-Compartment Meal Tray Sealer
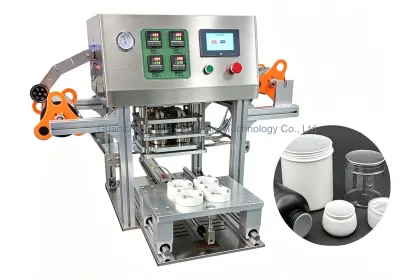 Bottle, Pail, Can Sealing Machine
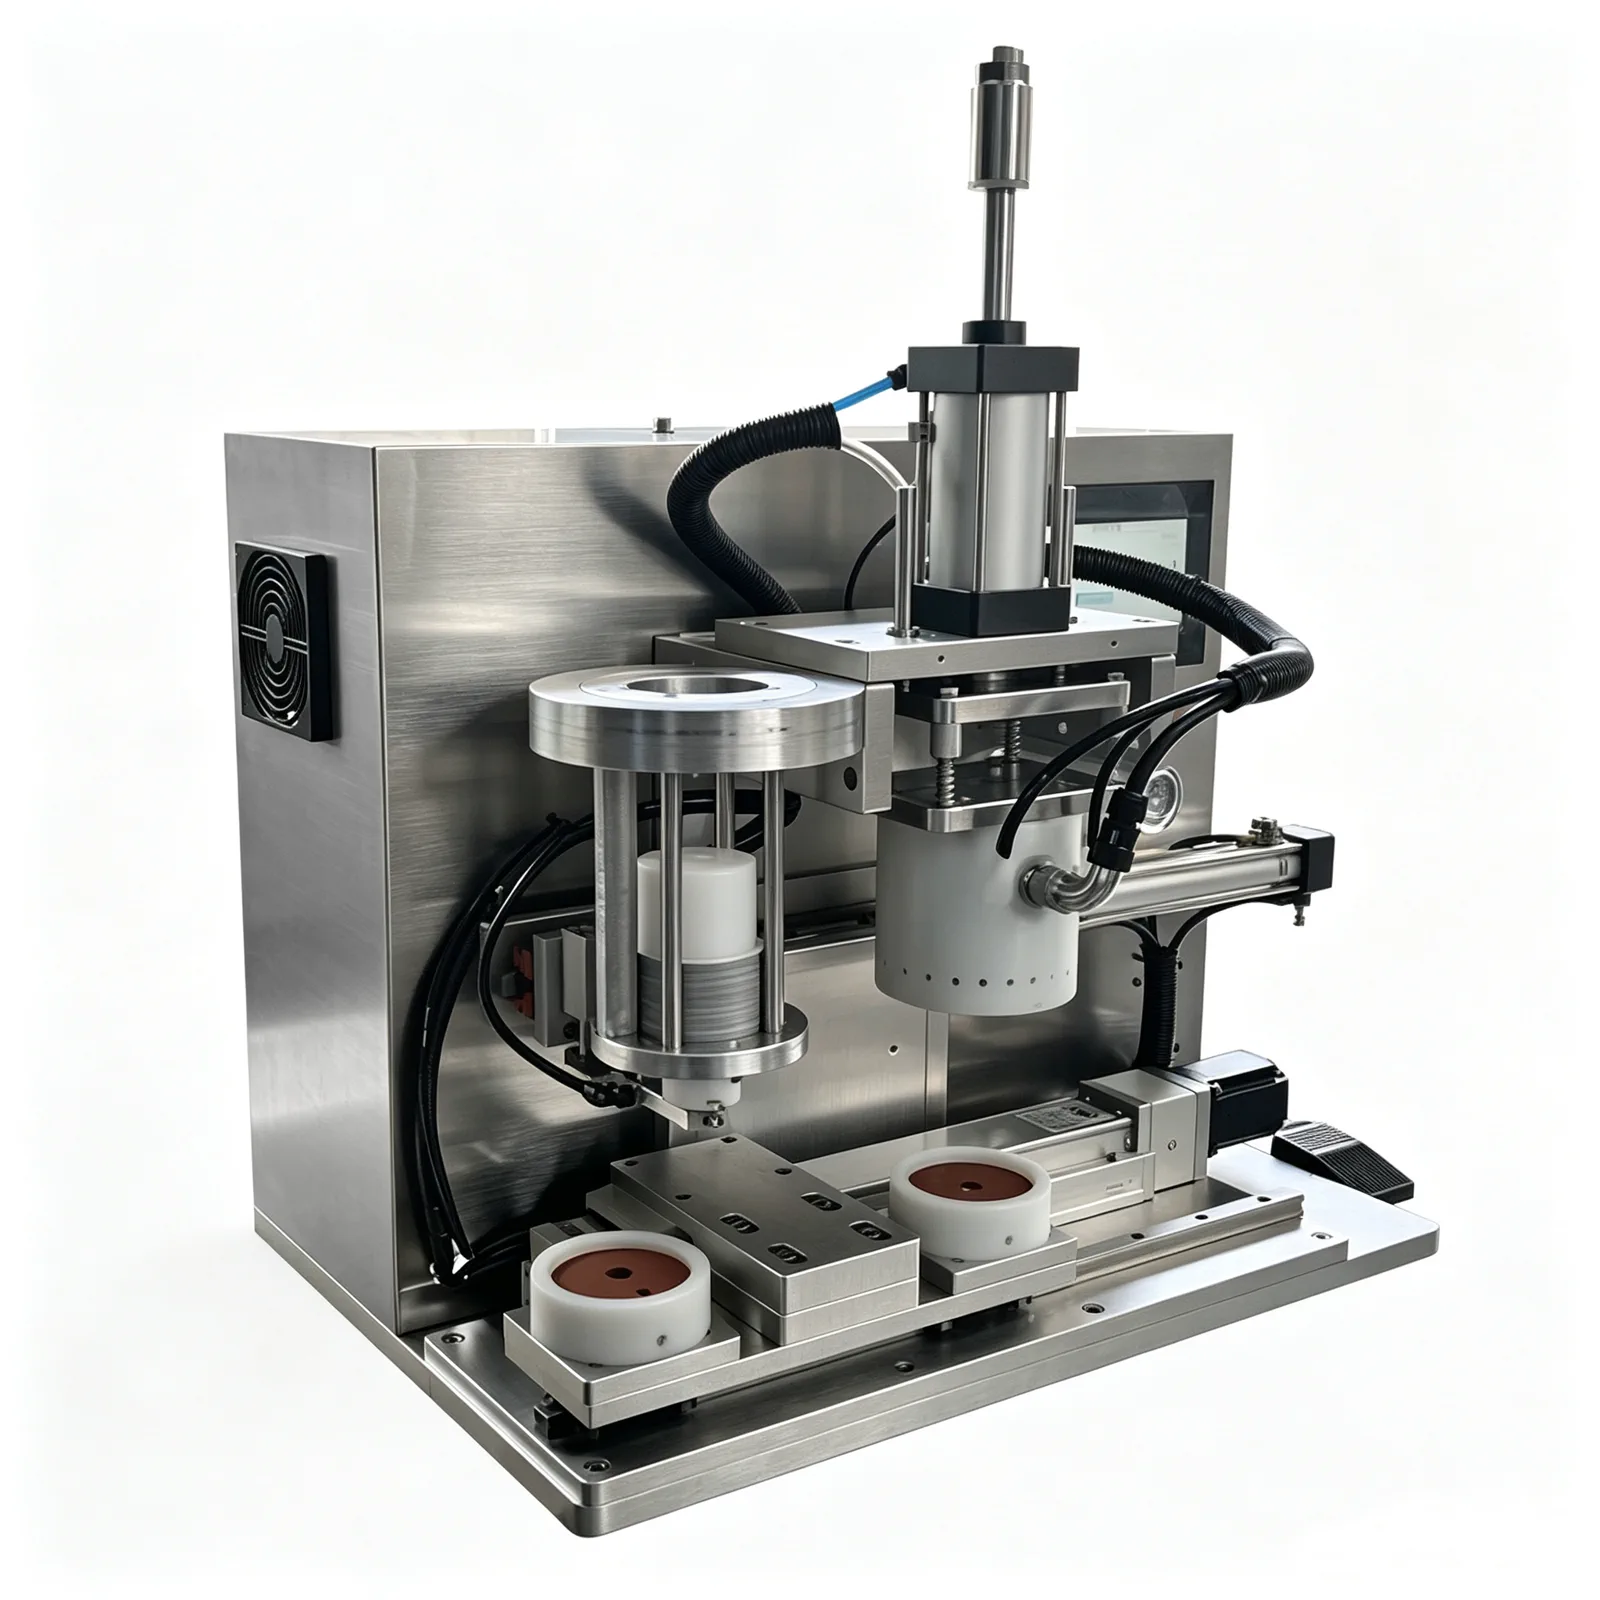 Benchtop Horizontal-Shift Capless Induction Foil Sealer
Custom fixture cycle acceptance; Testing only one seal cannot identify clamping deviations. Continuous repeats and abnormal reversed samples better expose struc...
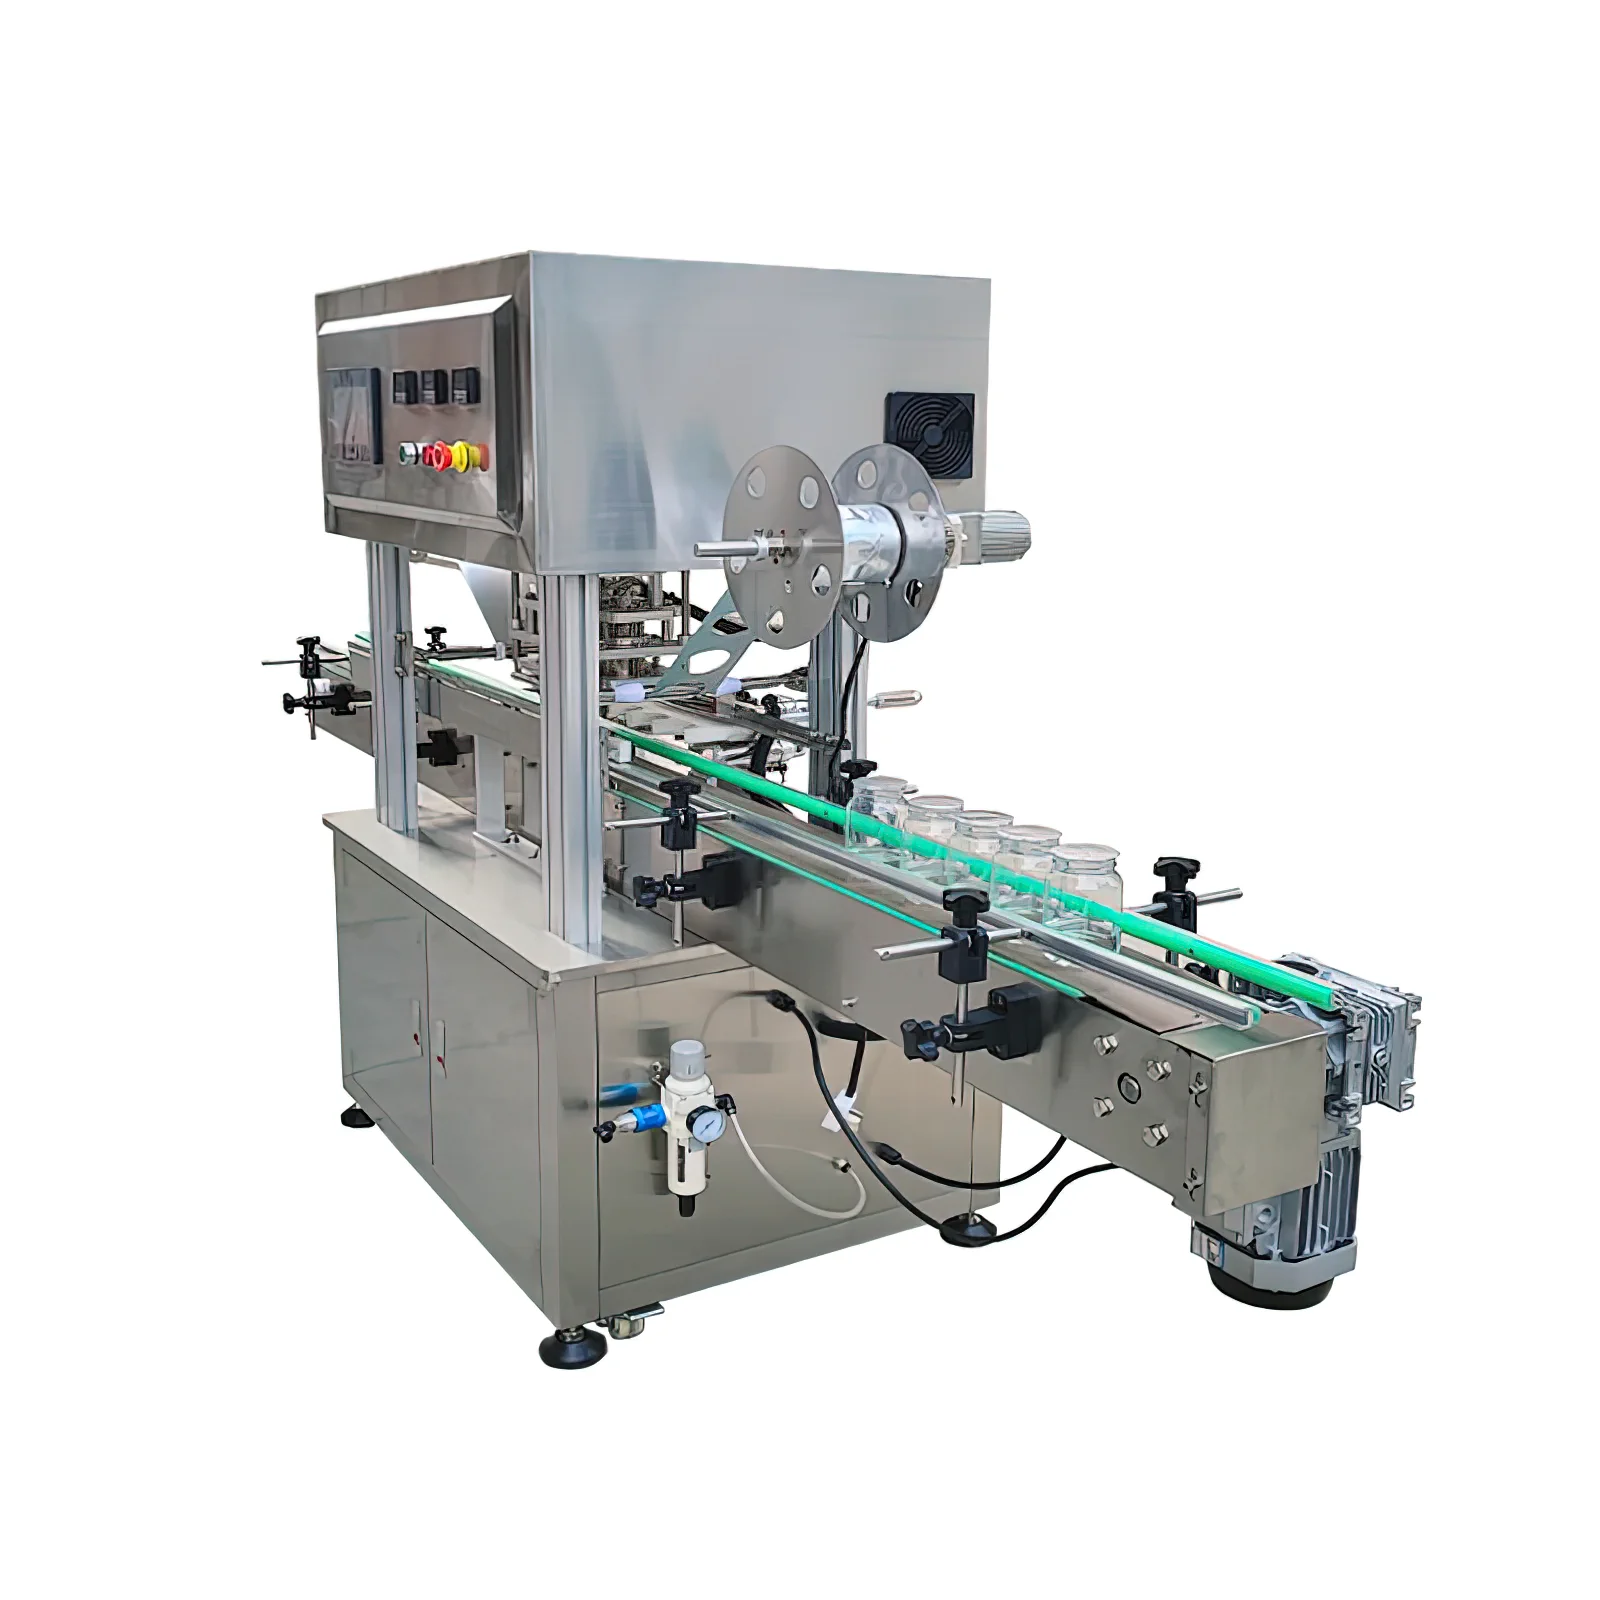 Inline Heat-Press Bottle Sealing Machine
Core process
Mark rim contact bands, stable support surfaces, non-clampable areas, filled center of gravity, and allowed loading/unloading directions from multiple physical samples.
Irregular small cups or multi-compartment trays are manually positioned on bench equipment to compare different support points, head coverage, and film edge allowance.
When bottle, pail, and can mouths and heights are suitable for direct heat sealing, verify axial support and pressing action on the corresponding sealing equipment.
For containers with caps using inner gaskets, first confirm the cap allows the gasket to be close to the rim, then use the bench air-cooled induction aluminum foil sealing machine for trials.
Fixture acceptance covers insertion, positioning, pressing, removal, cleaning, and error-proofing, and records repeated results within container batch tolerances.
After specifications stabilize, evaluate the rotary vacuum tray sealing machine. Keep an independent changeover kit for each container; do not default to using bench fixtures.
Sample details
Photos show appearance, but fixture design also needs the real state of rim, bottom, sides, and after force application.
Multi-angle container photos, filled samples, rim close-ups, bottom, and non-clampable areasSingle-point dimensions cannot cover warpage and supply variation; key tolerances should be established from multiple samples.
Rim inner and outer dimensions, total height, positioning surfaces, tolerance records, and container material structureFilm or gasket determines heat and induction contact, and feeding method affects fixture access space.
Mass-production film, heat-seal layer, thickness, roll or pre-cut state, matching caps, and opening requirementsFixture goals are not only to seal samples, but also to cover manual loading/unloading, cleaning, changeover, and error-proofing.
Operating cycle, shift targets, number of specifications, changeover frequency, cleaning methods, and acceptance itemsExisting upstream and downstream sections limit incoming direction, height, and receiving, affecting semi-automatic or multi-station layout.
Upstream and downstream equipment, entry/exit direction, site space, electrical and air supply, and finished product collection methodCommon selection mistakes
The equipment model cannot indicate where the non-standard rim is stressed, how it is positioned, or whether the film layer is compatible.
Fixtures can only support and position; if rim warpage exceeds tolerance or the film heat-seal layer does not match, increasing clamping force will not eliminate the root cause.
A single heat seal cannot show fluctuations from material changes, stops, and repeated clamping; direct first-article production hides boundaries.
Prototype trials allow slow observation; semi-automatic production also requires stable loading/unloading, cleaning, and first-article verification, with different responsibilities.
Materials do not need to be complete at once, but if photos, dimensions, and physical sample states are mixed across versions, fixture references can lose correspondence.
View detailed technical notes
First draw contact surfaces and force paths
The starting point for non-standard fixtures is not the machine appearance, but where the film and rim contact, how pressure is transmitted, and which surfaces support the container. These three should be marked on the physical sample.
Cup and tray fixtures support the rim
For irregular cups and boxes, use bench equipment to place them one by one, making it easiest to observe rim interruptions, ribs, and warpage. Fixture support should avoid thin walls and decorative areas, and ensure continuous force on the sealing band.
Tall containers: solve axial support first
Bottles, cans/jars, and pails are usually positioned along the axis and supported from the bottom or side. For bottle/can/jar/pail sealing machines and inline heat sealing machines for bottles, verify pick-and-place using the filled center of gravity, and observe whether tall containers tilt during pressing.
Accept direct membrane and outer lid separately
For paper cans or plastic pails that use a direct membrane and require an outer lid, consider an aluminum foil sealing and press capping machine. Keep separate samples of the membrane, container mouth, and lid, and record rim residue with the test results to help distinguish anomalies.
Induction fixtures only handle positioning
For the liner-in-cap route, first position the cap, then test with a benchtop air-cooled induction foil sealing machine. Changeover parts only stabilize the orientation; they do not change the material relationship among cap, liner, and container.
Include the entire operating cycle in acceptance
Fixture acceptance should cover loading, positioning, pressing, removal, cleaning, and reverse-loading prevention. For each step, observe tolerances with multiple samples, not just the finished membrane surface.
Changeover parts correspond one-to-one with samples
The changeover kit for each specification records fixtures, pressing heads, sealing rings, cleaning parts, membrane materials, and frozen samples. After changeover, recheck the contact band from the first piece.
Multi-station upgrades: revalidate handover
Rotary multi-station adds incoming direction and station handover; whether benchtop fixtures can be reused must be trial-installed on the target machine. Upgrading is not simply copying the prototype structure.
Use version records to protect fixture benchmarks
Sample records link container version, membrane batch, filling state, fixture number, and test results. Subsequent anomalies can be traced back to the specific contact surface.
Common questions
How is the configuration determined for non-standard fixtures and sealing equipment?
The configuration must be calculated based on container complexity, number of test samples, fixtures, main machine, and changeover scope. The configuration can only be defined after providing physical samples and film materials.
Can a small number of containers be used for sealing trials first?
Yes, samples should cover container tolerances, repeated clamping, qualified and abnormal results. The specific quantity depends on specifications and test items.
How should non-standard sealing film be prepared?
Try to provide the film or gasket material planned for mass production. Material structure, thickness, and feeding state directly affect test conclusions.
How long does it take to complete a custom fixture?
It depends on rim tolerance, fixture action, material and processing complexity. The lead time can only be scheduled after sample freezing and acceptance items are defined.
How is leakage risk assessed for non-standard sealing?
Choose peel, leak, or other tests according to product packaging requirements, and link results to container, film, fixture, and process numbers.
Can bench-scale prototyping be converted to multi-station later?
Yes, it can be evaluated, but multi-station changes incoming material, positioning, and handover. Whether the original fixture is usable must be re-tested on the target equipment.