Solution topic
Pet Wet Food Metal Cans: Verify Seaming Quality and Can Labeling Separately
For pet wet food metal cans, confirm the seaming equipment based on the actual can body and easy-open lid, then configure the downstream according to round can labeling, batch code
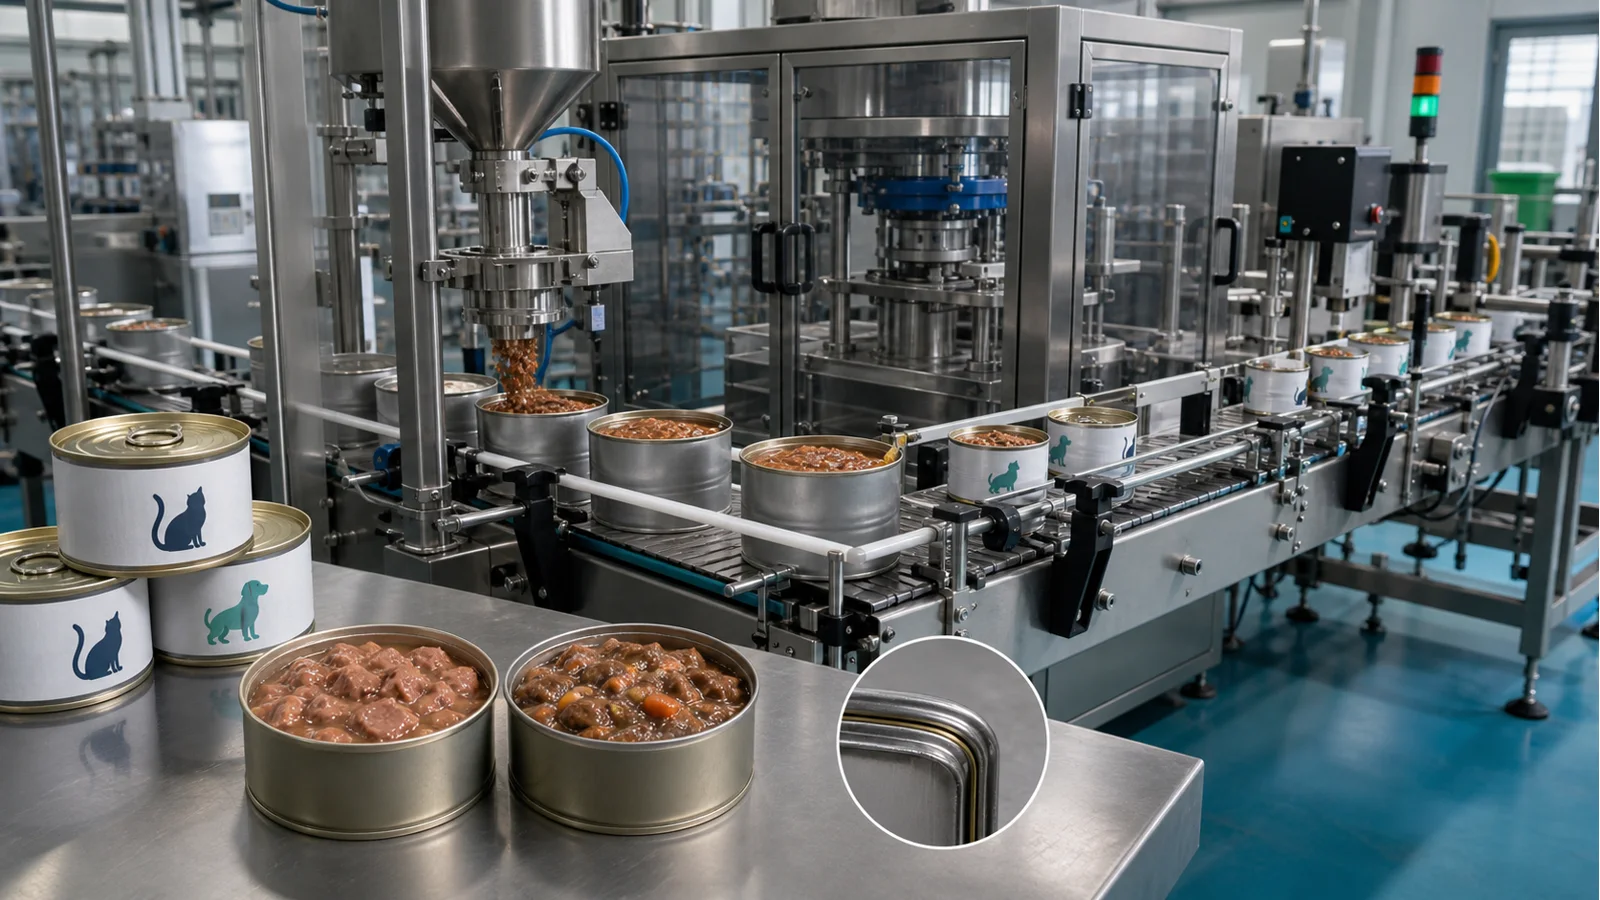
- Tinplate or aluminum cans with easy-open lids are seamed; plastic lid pressing and round can labeling are subsequent independent processes. Please provide empty cans, lids, finished product weight, label samples, conveying direction, and target capacity.
Solution summary prepared for you
- When wet pet food uses tinplate or aluminum cans with easy-open ends, first use an in-line automatic can seamer to verify double seaming. Plastic overcap pressing, labeling, and coding are subsequent independent processes.
- Sealing configuration requires empty cans and matching lid samples; labeling also requires official label rolls; cannot be determined by can diameter and equipment name alone.
- For round can labeling, a round/square bottle labeling machine can be evaluated; after confirming traceability position, configure a date/batch coder. After each station's cycle time is stable, connect with a food-grade conveying line.
Route comparison
- When wet pet food uses tinplate or aluminum cans and matching easy-open ends are available for physical matching, an in-line automatic can seamer can be evaluated.
- Double seaming can be independently verified around the can body and lid, then hand the stable can to labeling and coding downstream.
- Tooling and double seam results are affected by lid structure, can body positioning, and continuous can feeding; dimension drawings cannot replace complete samples.
- When the packaging is not a metal can with easy-open end double seam structure, or the lid is not finalized, do not confirm the in-line automatic can seamer configuration.
- An in-line automatic can seamer can be evaluated, and sealing and conveying configuration confirmed with actual empty cans, lids, and production cycle time.
- When metal cans need body labels after sealing, and can diameter, official label rolls, and positioning artwork are provided, a round/square bottle labeling machine can be evaluated.
- Labeling can be tested independently on stable cans, clearly checking seams, flatness, and coordination with coding position.
- Can surface, label material, roll direction, and artwork all affect positioning; cannot select based only on round can outer diameter.
- When label artwork or application position is not finalized, or can orientation is unstable after sealing, do not confirm labeling structure yet.
- A round/square bottle labeling machine can be evaluated, and continuous trial application completed with official can samples and label rolls.
- When batch code content, printing position on can bottom, lid, or label are defined, and official consumables are available for trial, coding can be configured.
- The traceability station can be independently verified after sealing, making it easier to set trigger and reading direction based on actual can orientation.
- Printing surface, friction, and subsequent label coverage affect readability; position and consumables must be checked together.
- When batch code artwork and position are not confirmed, or the printing area will be covered by labels, adjust artwork and station sequence first.
- A date/batch coder can be evaluated; specific position and trigger method are tested according to can conveying orientation.
Associated Equipment / Consumables
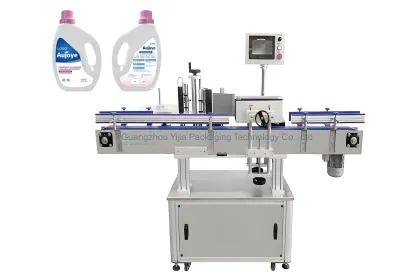 Round-Bottle and Front/Back Labelling Machine
The machine labels round containers by wraparound and square or flat containers on one or two panels, with optional coding, vision and rejection. Round rotation, square-bottle stabilisation and oriented irregular pack...
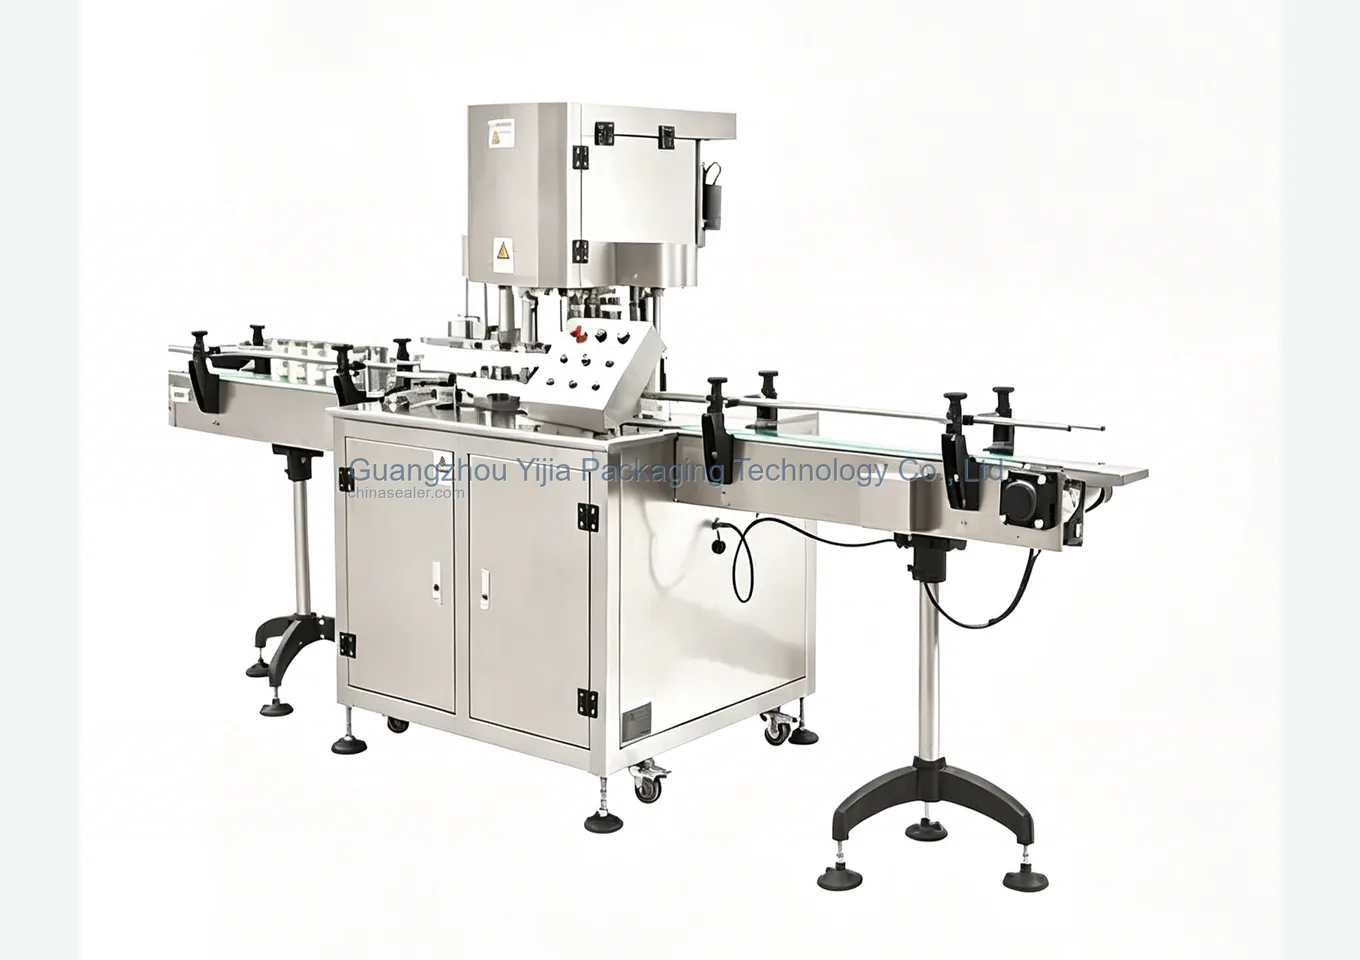 Inline Automatic Can Seaming Machine
Food-grade conveying connection; Line capacity is based on continuous trial run results of each station; a single machine's speed cannot represent total line output; Food-grade co...
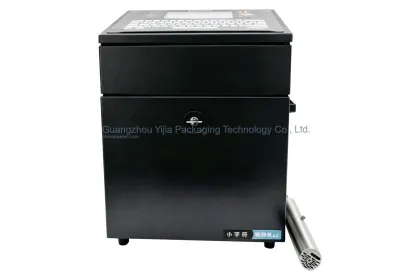 Date & Batch Inkjet Printer
Round can body labeling; Use official label rolls for continuous trial application, observing can rotation, label flatness, and positioning repeatability. Do not confirm labeling structure...
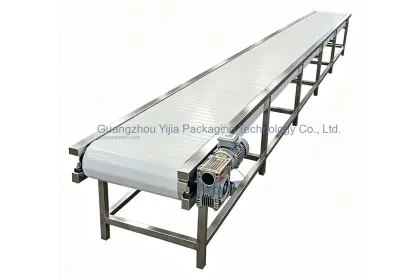 Food Packaging Conveyor and Buffer Line
Food-grade conveying connection; Line capacity is based on continuous trial run results of each station; a single machine's speed cannot represent total line output; Food-grade...
Core process
First assemble a complete sample set of tinplate or aluminum cans, matching easy-open ends, and official labels, and specify finished product weight, conveying direction, and planned output. Use the same can batch to recheck double seaming and labeling.
The in-line automatic can seamer is used for double seaming metal cans with easy-open ends. Before configuration, use complete empty cans and lids to check seam structure, positioning, and continuous can feeding.
After sealing is stable, use a round/square bottle labeling machine to verify can diameter, label length, start/end positions, and seam. Label artwork should avoid structures unsuitable for adhesion.
The date/batch coder trial-prints at the agreed can bottom, lid, or label position; artwork, trigger, and reading direction are confirmed with actual cans.
After confirming the individual cycle times of sealing, labeling, and coding, connect the stations with a food-grade conveying line, and verify can transfer, buffering, and abnormal removal space.
If there are multiple can diameters, heights, lid types, or label artworks, save double seaming, labeling, and coding settings by specification, and verify first articles after changeover.
Sample details
Can structure affects sealing positioning and conveying; actual can samples also reflect body rigidity and surface adhesion conditions.
Provide empty can samples or clear dimension drawings, and specify can diameter, height, finished product weight, and all common specifications.Metal can double seaming depends on the complete matching of can body and lid; overcap pressing is checked separately by cap type.
Provide matching easy-open ends for each can type. If a plastic overcap is used after sealing, also submit cap samples and assembly sequence.Artwork and can surface determine labeling and coding positioning, and are also used to check whether downstream processes block each other.
Submit official label rolls, label start/end positions, and coding artwork for can bottom, lid, or label.Cycle time is used to arrange conveying and buffering; total line output cannot be directly calculated from a single seamer speed.
List target cans per hour or per shift, and which stations (sealing, labeling, coding) need continuous operation.On-site information is used to confirm transfer and operating space. If information is incomplete, start by checking lid and label samples.
Provide available space, conveying direction, interface height, and existing upstream/downstream positions, and indicate whether checkweighing or other inspection is needed.Common selection mistakes
The same can diameter may have different seam structures; trial run with each planned lid and keep corresponding records.
The solution should clearly state the lid assembly sequence to avoid selecting equipment based only on a general 'cap sealing' description and missing the core double seaming.
Check can rotation, label pick-up position, flatness, and relationship with the coding area, not just whether a single label sticks.
Record station waiting, can transfer, and abnormal removal at the target cycle time, then confirm conveying length and interlocks.
List specification combinations and changeover frequency in advance, and save adjustment items for double seaming, labeling, and coding.
View detailed technical notes
First Match the Metal Can with the Easy-Open Lid as a Set
When wet pet food uses tinplate or aluminum cans, the core closure is double seaming between the can body and the easy-open end. When submitting requirements, provide empty cans, matching lids, and finished product weight; do not just write 'cap sealing'.
Verify Seaming, Outer Lid, and Labeling Separately
The metal can seaming determines the lid closure. If a plastic outer lid is added after seaming, evaluate the press capping separately. Round can labeling and batch coding are downstream processes, each using official labels and layout trials.
Confirm the Seamer Based on Can and Lid Matching
For an automatic online can seamer, use the planned production empty cans and easy-open lids to verify positioning and seaming. The same can diameter does not mean the same seaming structure; tooling cannot be inferred from a single size. During continuous trials, also observe can feeding, lid dropping, and can body transfer, and keep inspection records for each can-lid set.
Use Official Label Rolls for Round Can Labeling
For can body labeling, a round/square bottle labeling machine can be evaluated. During trial labeling, check the start and end positions, label seam, can body rotation, and coding area; confirm the label material and roll direction at the same time.
Trial Print the Batch Code Position According to Can Orientation
The date/batch coder can be configured at the agreed position on the can bottom, lid, or label. Use official can samples to verify triggering, reading direction, and adhesion, and confirm that the position will not be covered by the label or subject to continuous friction during handling.
Connect Food-Grade Conveying After Main Processes Are Stable
After sealing, labeling, and coding each reach a stable cycle time, connect them with a food-grade conveyor line. During continuous trial runs, observe transfer points, buffering, and space for abnormal product removal.
Seamer Acceptance Is Recorded Around Can and Lid Matching
For each can and lid combination, save the seaming settings, trial appearance, and agreed inspection results separately, so that one sample set does not replace all specifications.
Avoid Mutual Interference Between Label and Code
Label layout and traceability position should be determined before the layout is made. Official trial samples should check label seam, batch code readability, and handling friction at the same time.
Line Cycle Time Is Confirmed by Continuous Operation Together
The food-grade conveyor line is arranged according to the actual cycles of sealing, labeling, and coding; do not use the speed of a single machine to replace the whole line acceptance.
Common questions
For metal cans of wet pet food, should sealing or capping equipment be selected first?
When tinplate or aluminum cans use easy-open ends, the core process is metal can double seaming. If a plastic overcap is added after seaming, evaluate press capping separately; do not combine the two closing actions into one.
What samples should be prepared before confirming a pet food can filling solution?
Prepare empty cans, matching lids, final labels, and coding artwork, and specify finished product weight, can dimensions, planned output, conveying direction, and whether an overcap is used.
Can only the can dimensions be judged first?
Can diameter and conveying direction can be preliminarily checked, but double seaming also depends on the actual fit between the can body and the easy-open end; complete physical samples are still required before tooling confirmation.
Why should labeling be tested separately after sealing?
Double seaming and labeling focus on different structures. After sealing is stable, use official cans and label rolls to check rotational positioning, seams, and adhesion; results will be closer to actual downstream operation.
How to check double seaming quality?
Use matching empty cans and lids for continuous trial runs, record positioning and seam appearance, and recheck sealing results according to the agreed inspection method.
When is it necessary to connect the conveying line?
Connect the conveying line only after the individual cycle times and can orientation of sealing, labeling, and coding are stable. Early on, verify each key process machine by machine.